
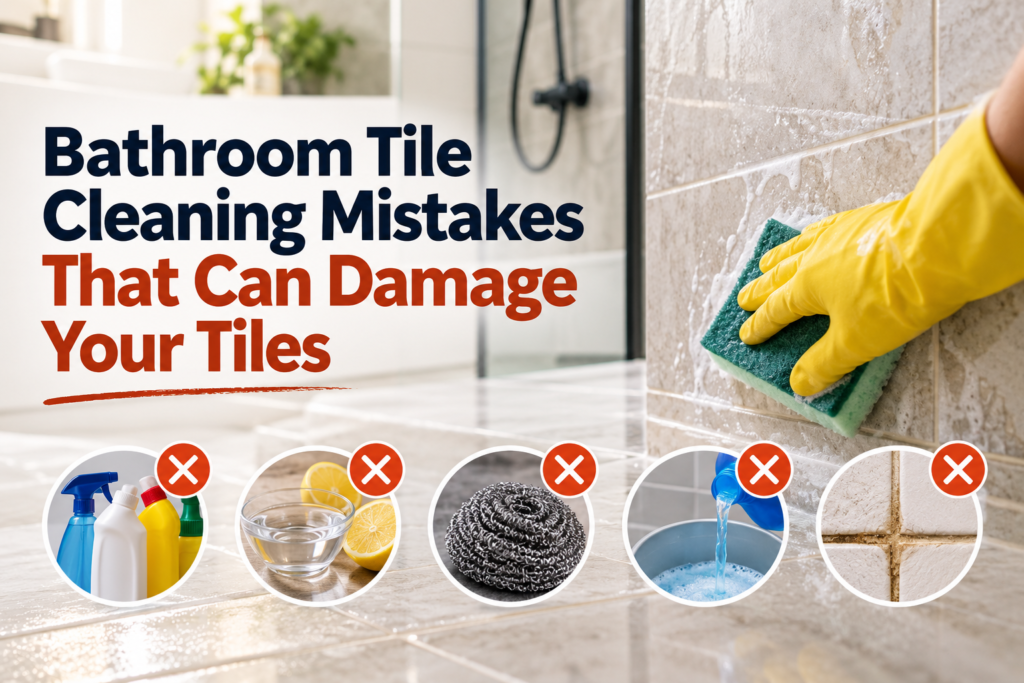
You scrub the shower, rinse the floor and step back expecting a cleaner bathroom. Instead, the tiles look cloudy, the grout seems patchy and a stubborn mark is still there. It is tempting to reach for a stronger cleaner or scrub a little harder.
That is often where the damage starts. Bathroom tiles can handle daily use, but the wrong cleaning products and tools can affect their finish, grout and surrounding fittings. For Australian homeowners, understanding what to avoid can help prevent a routine clean from becoming a repair job.
1. Using the Same Cleaner on Every Tile Surface
A bathroom may contain porcelain floor tiles, ceramic wall tiles and a natural stone feature wall. Although they share the same space, they may need different cleaning products.
A cleaner suitable for glazed ceramic tiles may be unsuitable for marble. The grout, sealant and metal trims also need consideration. If you are unsure which products to use, a professional Tile Cleaning Perth service can help assess your bathroom surfaces and recommend an appropriate cleaning method. Before cleaning, check:
- The tile material and surface finish.
- The tile supplier’s maintenance instructions.
- Whether the cleaner is suitable for the grout and any existing sealer.
- The recommended dilution and contact time.
If you cannot identify the tiles, ask the supplier or a tile care professional before applying a strong stain remover.
2. Using Vinegar or Lemon Juice on Natural Stone
Vinegar is a popular household cleaning suggestion, but it is not suitable for every bathroom surface.
Acidic ingredients can etch calcium-based stones such as marble, limestone and travertine. Etching changes the surface itself, leaving dull or pale marks that ordinary cleaning cannot remove. The Natural Stone Institute specifically advises against acidic cleaners on these materials.
This matters when trying to remove white deposits around a shower. What appears to be a simple mineral stain can become a damaged patch if the wrong product is applied.
Use a cleaner approved for the particular stone and deposit. Do not assume a product is suitable simply because its label describes it as natural.
3. Scrubbing with Steel Wool or Aggressive Pads
When soap scum will not shift, a rough scourer can feel like the quickest solution. However, an abrasive tool may scratch a decorative or polished finish.
Grout lines also need care. Repeated forceful scrubbing can wear away weak material, particularly where joints are already deteriorating.
For routine cleaning, start with:
- A clean microfibre cloth.
- A soft, non-abrasive sponge.
- A soft nylon brush suitable for the surface.
- A compatible cleaner used according to its label.
Let the cleaning solution work for its recommended contact time before gently agitating the area. More pressure is not always more effective.
4. Making the Cleaning Solution Too Strong
Adding extra concentrate does not automatically improve the result. It can make rinsing harder and leave residue behind.
Some aggressive cleaning chemicals can also affect tiles, grout or surface treatments. LATICRETE Australia advises checking product instructions and testing a small, inconspicuous area before cleaning tile and stone installations. au.laticrete.com
Measure the product rather than pouring it by eye. If the recommended dilution does not work, reassess the type of deposit and the product’s suitability before increasing the concentration.
A greasy film, mineral deposit and discoloured grout line may each require a different approach.
5. Treating Every Bathroom Mark as Dirt
A mark that survives cleaning is not necessarily a stain.
A cloudy area might be leftover detergent, mineral build-up or a change in the tile’s finish. Dark grout could reflect surface contamination, persistent moisture or deterioration. The appearance alone does not always reveal the cause.
Repeatedly applying stronger chemicals can make the problem worse if the surface is already damaged.
| What you notice | Possible explanation | Better next step |
| Streaks appearing after mopping | Cleaner residue or dirty rinse water | Rinse with fresh water and reassess |
| A chalky deposit near shower outlets | Mineral build-up | Identify the tile before choosing a remover |
| A dull patch on marble | Possible acid etching | Seek stone restoration advice |
| Grout that crumbles during brushing | Deteriorating grout | Arrange an assessment before further scrubbing |
| Dark marks within silicone | Staining or contamination in the sealant | Check whether the silicone needs replacement |
| Dampness outside the shower | A possible plumbing or waterproofing problem | Arrange an appropriate inspection |
6. Leaving Cleaner on the Surface for Too Long
A cleaning product may need time to loosen grime, but leaving it overnight is not automatically helpful.
Exceeding the recommended contact time or allowing the solution to dry can leave difficult residue. The risk depends on the chemical and the materials it touches, including nearby fittings and trims.
Work in manageable sections:
- Apply the correctly diluted product.
- Allow the contact time stated on the label.
- Agitate gently with a suitable tool.
- Rinse as directed.
- Check the result before repeating.
Avoid spraying the entire bathroom if you cannot rinse each area within the required time.
7. Mopping Before Removing Hair and Grit
Loose particles are easy to overlook on a bathroom floor. Hair, dust and grit collect beside the vanity, behind the door and around the toilet.
Mopping straight over this debris spreads it across the tiles. Trapped grit can also act as an abrasive beneath a cleaning pad.
Remove loose material first using a soft broom or a vacuum attachment suitable for the flooring. Then clean with a fresh mop or cloth.
Change the water when it becomes dirty. Otherwise, you are redistributing the grime you have just loosened.
8. Skipping the Final Rinse
A freshly mopped floor can look clean while still carrying a thin layer of detergent.
Once dry, that residue may leave streaks, a sticky feel or a dull appearance. Adding more cleaner during the next wash can build up the problem.
Follow the product’s rinsing instructions and use clean water where required. Pay attention to textured tiles and corners where solution can collect.
The Natural Stone Institute also notes that excessive cleaner can leave a film and recommends thorough rinsing after washing stone surfaces. naturalstoneinstitute.org
9. Scrubbing Over Cracked Grout and Failed Silicone
Cracked joints are easy to dismiss as cosmetic problems, especially when the surrounding tiles still look sound.
However, cleaning cannot repair missing grout, loose tiles or separated silicone. Continuing to scrub a weakened joint may remove more material.
Stop and arrange an assessment if you notice:
- Grout coming away during cleaning.
- Gaps where silicone has separated.
- Tiles moving underfoot.
- Damp patches in adjoining rooms.
- A persistent musty smell despite cleaning and drying.
These signs do not prove a waterproofing failure, but they warrant investigation. Surface cleaning should not be presented as a fix for an underlying moisture problem.
10. Applying Sealer Over Dirty or Damp Grout
Sealing can be useful for certain grout and stone surfaces, but it is not a substitute for cleaning or repairs.
Applying a sealer before removing contamination, or before the surface has dried sufficiently, can produce an uneven result. Equally, not every tile or grout product needs sealing.
Check the manufacturer’s requirements before proceeding. Confirm the surface is suitable, properly prepared and dry enough for the chosen product.
Remember that a surface sealer does not replace the waterproofing system beneath a bathroom’s tiles.
A Gentler Bathroom Tile Cleaning Routine
A manageable routine can reduce the need for aggressive cleaning later.
After showering, remove excess water with a suitable squeegee and use the bathroom’s ventilation. Clean spills and product residue promptly rather than allowing layers to accumulate.
- Remove loose debris first.
- Use a cleaner approved for the tiles and grout.
- Follow dilution and contact-time instructions.
- Clean with non-abrasive tools.
- Rinse as directed and remove excess water.
- Check grout and silicone for deterioration.
Know When to Stop Scrubbing
If a mark remains after a careful clean with a suitable product, pause before trying something stronger. The next step may be targeted stain treatment, grout repair or surface restoration.
Good bathroom tile care starts with identifying the material and the problem. Using the right method helps keep the bathroom clean while protecting the finish you want to preserve.

